
Pan de masa madre casero
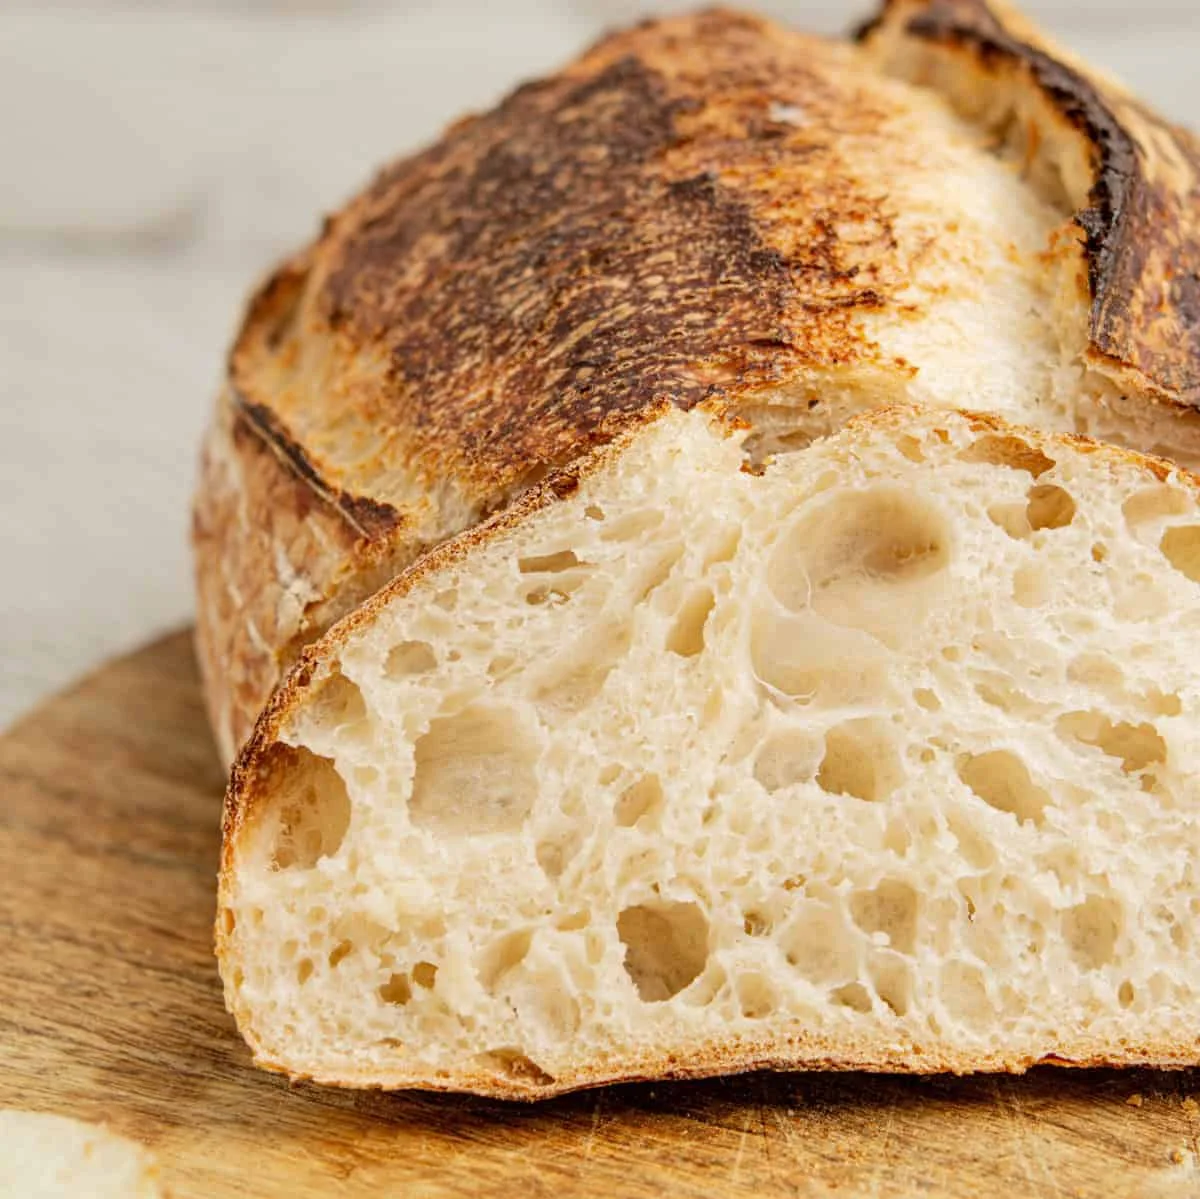
El pan de masa madre casero merece la pena si lo haces bien. Una corteza crujiente, una miga blanda y aireada, y ese ligero toque avinagrado. Si es la primera vez que lo preparas, no es tan complicado como podrías pensar.
Ingredientes
- 25 g sourdough starter
- 50 g bread flour ((or all-purpose flour))
- 50 g water
- 420 g bread flour ((or all-purpose flour with protein of at least 11%))
- 300 g water
- All the levain ((or around 100g or 1/2 cup active starter))
- 8 g salt
Preparación
- 1
In a bowl, mix together the levain ingredients until fully combined. Transfer to a clean jar, loosely cover, and leave it in a warm spot until it doubles in size.
- 2
Once the starter has about finished rising, combine the flour and water in a large mixing bowl. Use a fork or wooden spoon to mix it roughly, then switch to wet hands and knead until no dry flour remains. Cover the bowl and let the dough rest (autolyze) for 30 minutes.
- 3
Once the starter is ready, add it to the dough and salt. Use wet hands to squish everything together until well incorporated. Then, perform some slaps and folds for a few minutes to begin developing the gluten. You can do this on the bench or in the bowl. To perform it, take the dough, lift it, and slap it onto the work surface, then fold it over itself. Repeat this process to build strength. It can also be done in a bowl using a scooping motion to repeatedly stretch and fold the dough.
- 4
Over the next three hours, perform more stretches and folds every 30 minutes to build strength. You can do traditional stretches and folds or slaps and folds. See the above post for different folding techniques.
- 5
After three hours, transfer the dough to a clean bowl and let it finish bulk fermentation for another 1-2 hours, depending on temperature. The dough should be jiggly when the bowl is shaken, rising by around 40-50%, with visible bubbles forming on the surface. At around 76°F/25°C, it takes about 1 ½ hours, but in cooler temperatures, it will take longer, and in warmer temperatures, it will be shorter. Watch the dough and not the clock.
- 6
--- Shaping the Dough ---
- 7
Shape the dough into a bâtard or a round (boule) depending on your basket.
- 8
--- For a bâtard: ---
- 9
Lightly flour the bench and tip out the dough.
- 10
Pre-shape into a round and let it rest for 20 minutes.
- 11
Flip it smooth-side down and gently stretch it into a rectangle.
- 12
Fold the top third down and the bottom third up like a pamphlet.
- 13
Starting from the short side, roll it up tightly into a log.
- 14
Pull the dough towards you on the bench to create surface tension. Place it seam-side up into a floured, lined banneton.
- 15
Cover the dough with a kitchen towel and cold-proof in the refrigerator for 8-24 hours.
- 16
--- Baking ---
- 17
When ready to bake, preheat the oven and a Dutch oven to 450°F (230°C) for at least 30 minutes.
- 18
Remove the hot Dutch oven and generously flour the bottom. Take the dough from the fridge and carefully flip it out of the basket into the Dutch oven. If using a large pot instead, you can tip the dough onto parchment paper first. This makes it easier to lower into the pot.
- 19
Score the dough using a razor blade or sharp knife. Cover with the lid and bake for 20 minutes. Then, remove the lid and bake uncovered for another 20 minutes, or adjust based on your oven. Some ovens run hotter and may need less time, while others need a few extra minutes.
- 20
Once baked, let the bread cool completely for at least two hours before slicing. This allows the crumb to set properly and prevents it from turning gummy.
Cocínala con la receta original
Esta receta es de bakingwithbutter.com. En su web tienes las fotos, las notas y los consejos del autor: es el mejor sitio para cocinarla.
Ver la receta en bakingwithbutter.com