
Pan focaccia de limón y tomillo (¡Sin amasar!)
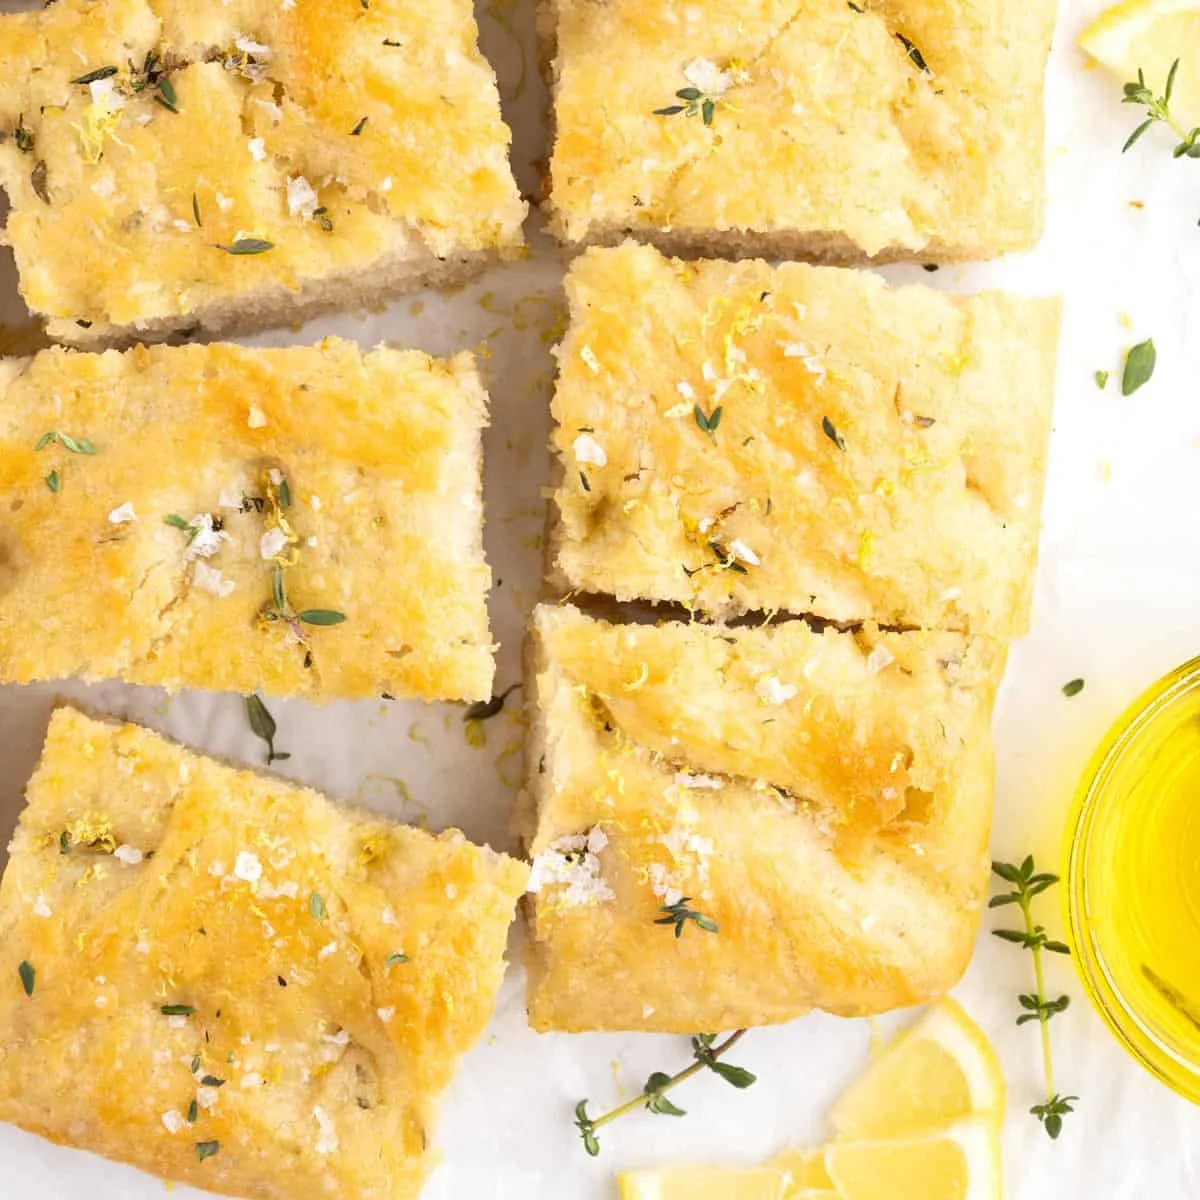
Este pan focaccia de limón y tomillo es tan fácil que prácticamente se hace solo. Es una masa sin amasar que se prepara en un solo bol, con un toque vibrante de ralladura de limón fresco y tomillo. Déjala reposar toda la noche en el frigorífico y al día siguiente se horneará dorada, crujiente y llena de sabor.
Ingredientes
- 3 1/2 cups all purpose flour (512 grams - best to measure by weight)
- 2 teaspoon kosher salt
- 2 teaspoon instant yeast
- 1 tbsp lemon zest (in the dough, about 2 large lemons)
- 1 tbsp thyme ( in the dough)
- 2 cups lukewarm water (1/2 cup boiling water mixed with 1.5 cups cold water)
- 5 tbsp olive oil (plus more for greasing)
- 2 tsp zest (on the dough)
- 2 tsp thyme (on the dough)
- 1/4 teaspoon flaky sea salt
Preparación
- 1
In a large mixing bowl, combine the the flour, salt, and instant yeast with a rubber spatula. Add lukewarm water. Mix the dough together until the liquid is absorbed and the ingredients form a sticky dough.
- 2
Drizzle the top of the dough with some olive oil and use your hands to rub it all over the surface and sides of the bowl. There is no need to measure here, you simply want to use enough so that everything is thoroughly coated to prevent sticking and a dry crust forming. Cover the bowl with plastic wrap and refrigerate for 12-18 hours.
- 3
When you are 3.5-4.5 hours away from eating, remove the dough from the fridge. It should be puffy, risen, and may have some bubbles on the surface..
- 4
Line a non-stick 9x13 pan with parchment paper, then grease the sides and bottom generously with more plain olive oil (I use a paper towel to help rub it around). Use your hands or two forks to release the dough from the sides of the bowl, using gentle motions. It will have deflated some during this process, but stop once the sides are released to avoid overdoing it.
- 5
Measure 2 tablespoons of the olive oil into the center of the pan. Place the ball of dough on top, then roll it around gently to coat it thoroughly on all sides, keeping the ball shape as much as possible. Be careful not to over-handle it or it will deflate more. Allow it to rise uncovered at room temperature for 3-4 hours for the final rise. It should puff up and mostly fill the pan all by itself.
- 6
After 3-4 hours, preheat the oven to 425°F. While the oven is heating, pour 2 more tablespoons of the oil on the top. Grease your hands with a bit as well, then use all of your fingers to press straight down into the dough, creating dimples and spreading it to the edges of the pan. You can use your fingers to gently stretch it to the edges if needed, but be very careful not to lift it or overly deflate the corners.
- 7
Bake for 20 minutes. Remove from the oven and sprinkle on the top with 2 teaspoons of fresh thyme leaves, 2 tsp lemon zest, and ¼ teaspoon of flaky sea salt.
- 8
Bake the bread for an additional 5-10 more minutes, until the bottom is golden and crispy. Remove it from the oven and place onto a cooling rack for about 10 minutes.
- 9
Remove the warm loaf onto a cutting board and cut into squares or long strips with a serrated bread knife. Serve warm and enjoy!
Cocínala con la receta original
Esta receta es de borrowedbites.com. En su web tienes las fotos, las notas y los consejos del autor: es el mejor sitio para cocinarla.
Ver la receta en borrowedbites.com