
Pechuga de pollo jugosa en freidora de aire
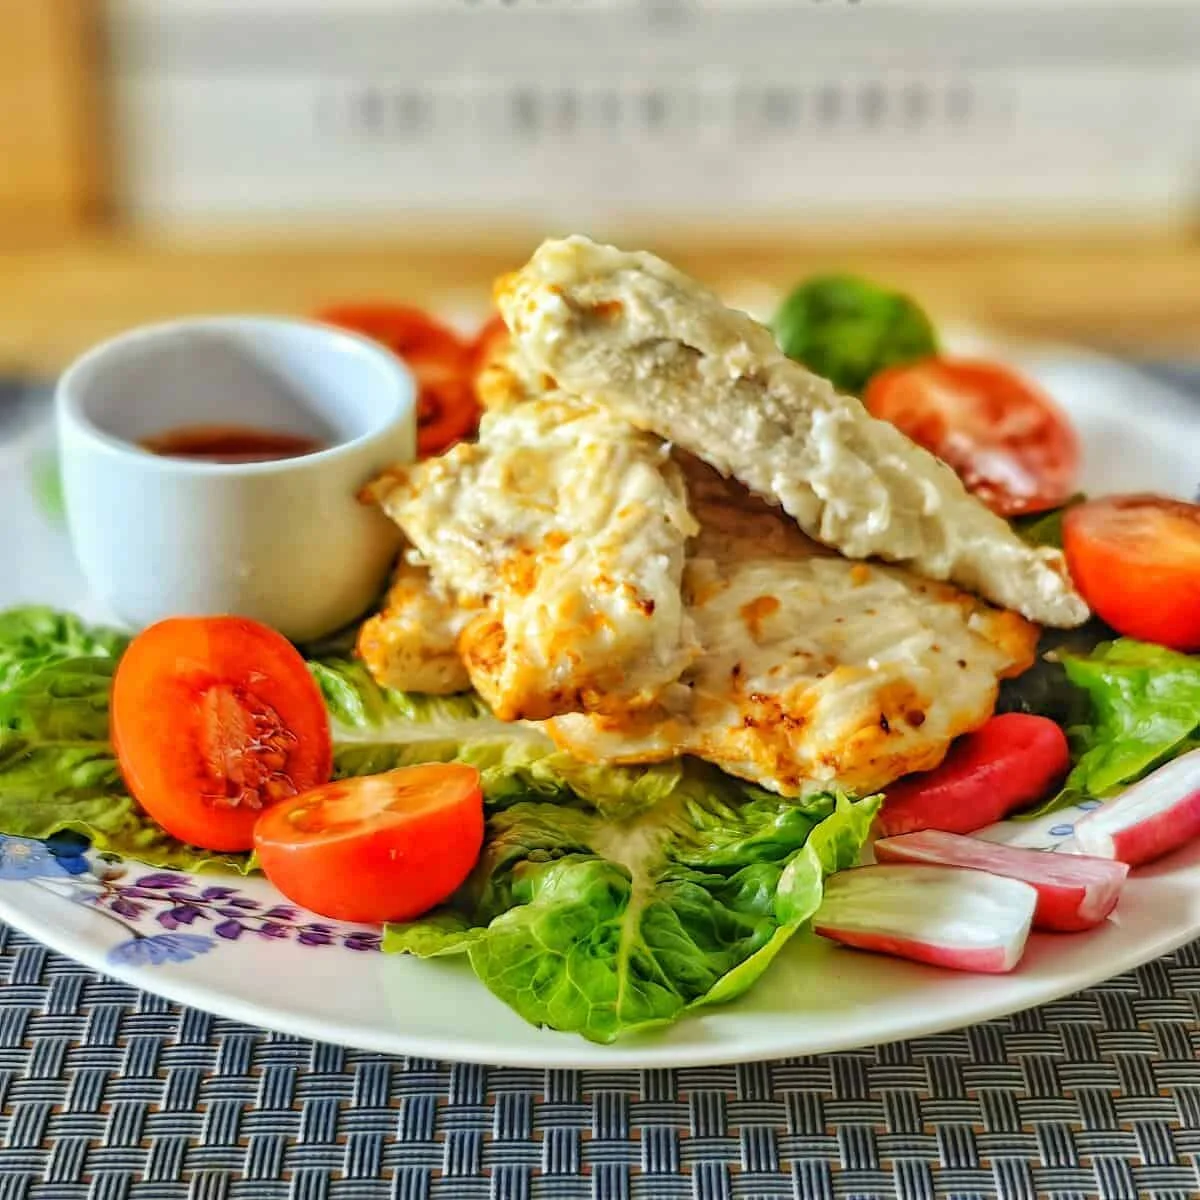
Mi receta de pechuga de pollo en freidora de aire transformará tus cenas en banquetes saludables y llenos de sabor. Este método rápido y sencillo ofrece un pollo tierno, crujiente por fuera y jugoso por dentro, un auténtico deleite.
Ingredientes
- 14 oz chicken breasts ((2 pieces))
- 1 egg white
- 1 1/2 tsp cornstarch
- salt to taste
Preparación
- 1
Start by separating the chicken breast into two parts - the larger and smaller fillets. Set aside the smaller fillet. Then, cut each fillet lengthwise in the middle, but not all the way through, to make them thinner yet wider. You may watch our video for reference.
- 2
Place the fillets in a deep container, such as a food container.
- 3
In a small bowl, crack an egg and separate the egg white. You will only need the egg white for this recipe.
- 4
Pour the egg white over the chicken breasts, ensuring it is evenly distributed and covers the entire surface of the fillets.
- 5
Preheat the air fryer (mine’s the Instant Vortex Plus XL) to 380°F (190°C).
- 6
Sift the starch onto a small sieve and sprinkle the starch over the entire surface of the fillets, making sure both sides are coated.
- 7
Note: The egg white and starch in this recipe are used in small quantities, not for breading. They are used to retain moisture inside the chicken fillets, making them juicier after cooking, while also providing a golden, delicious crust.
- 8
Place the fillets on the bottom of the air fryer basket and cook for 15 minutes.
- 9
Halfway through the cooking process, flip the chicken fillets to the other side. Keep a close eye on the cooking progress.
- 10
The internal temperature for cooked chicken fillets should be 155-158°F (68-70°C). If you have a kitchen thermometer, you can use it to check the temperature. The inside of the meat should have a light gray color.
- 11
Once cooked, remove the chicken fillets from the air fryer. Allow them to rest for 2 minutes. Serve the chicken breast with your favorite sauce and side dish.
Cocínala con la receta original
Esta receta es de alsothecrumbsplease.com. En su web tienes las fotos, las notas y los consejos del autor: es el mejor sitio para cocinarla.
Ver la receta en alsothecrumbsplease.com