
Lumpia Shanghai (rollitos de primavera filipinos)
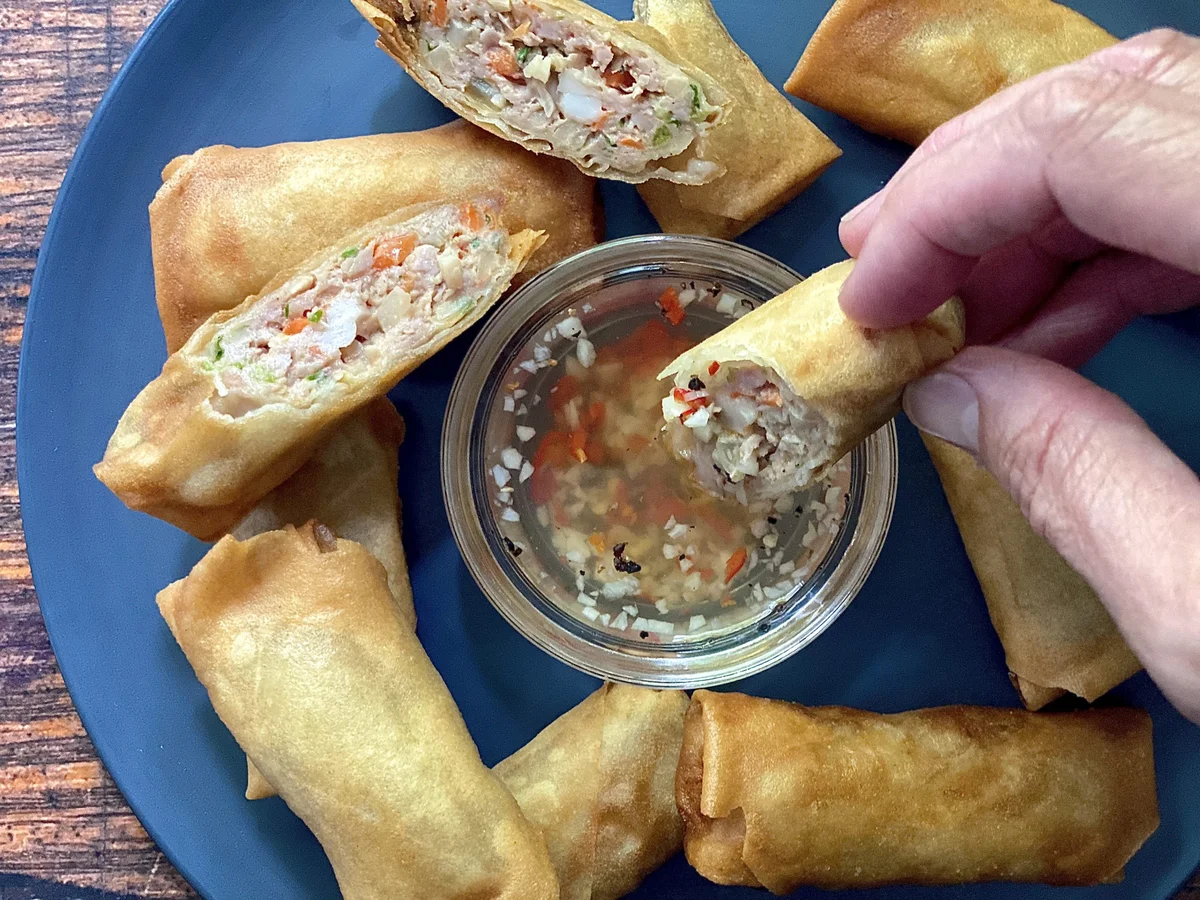
Receta y foto de Lynne Calamia. Mi madre me dijo que los hiciera con cerdo y gambas. Hago lo que me dicen y nunca los haré de otra manera. He mejorado la textura del relleno añadiendo castañas de agua para darle un toque crujiente. ¿Tienes dudas sobre las obleas para rollitos de primavera? Visita nuestra lista de despensa filipina.
Ingredientes
- 1 pound ground pork
- 1/2 pound peeled and deveined shrimp, finely chopped
- 1/2 small yellow onion, finely chopped
- 6 cloves garlic, minced
- 2-inch piece ginger, peeled and minced
- 2 small carrots, peeled and grated on large holes of box grater
- 2 stalks Chinese celery with leaves, finely chopped
- 5 ounce canned water chestnuts, drained and minced
- 1 teaspoon kosher salt
- 1/2 teaspoon freshly ground black pepper
- 2 tablespoons soy sauce
- 2 tablespoons fish sauce
- 1 egg
- 40 6x6-inch spring roll wrappers
- a small bowl of water, to moisten fingers
- vegetable oil, for frying
- 1/4 cup cane vinegar
- 1 large clove garlic, finely minced
- 1 whole Thai bird chili, finely minced
- 1/4 teaspoon freshly ground black pepper
Preparación
- 1
For the filling: Place all ingredients, except the wrappers, into a large mixing bowl. Combine well using your hands or a wooden spoon. Cover the bowl with plastic wrap and refrigerate for at least 30 minutes.
- 2
Rolling the lumpia: Place one spring roll wrapper on a clean surface with one of the corners pointing toward you. Scoop a heaping tablespoon (about 1 ounce) of filling onto the center of the wrapper and form into a 3-inch log shape.
- 3
Fold the corner near you up and over the meat and press to adhere following the shape of the log. Next, fold the two side corners across to meet each other. Dip a finger into the water and moisten the upper far corner of the wrapper and continue rolling until you achieve a perfect cylinder. Place seam side down on a half sheet pan covered with parchment or wax paper.
- 4
Continue rolling until you're out of filling. You should have about 40 pieces. At this point, the lumpia can be placed in the freezer on the sheet pan until frozen then moved to a zip-top freezer bag and stashed for up to 6 months. There's no need to thaw before frying.
- 5
Frying the lumpia: Place a wide mesh strainer inside a medium heat proof bowl and place by the cooktop. Add enough vegetable oil to come up to a half inch in a heavy bottom, high sided skillet. Attach the thermometer to the side of the pan so the bulb tip is fully submerged. Bring the oil to 350 degrees F over medium heat.
- 6
Place a few lumpia into the skillet, taking care not to crowd the pan. Fry for 3-4 minutes, turning occasionally with tongs, until golden brown and crispy. (Keep an eye on the thermometer and adjust heat as needed to maintain 350.) Carefully remove the lumpia from the pan with tongs and place into the strainer so that their ends point down into the lowest part of the mesh. (This will help any oil inside the rolls to drain out.)
- 7
Once there are around 10 lumpia in the strainer, move them to a paper towel lined sheet pan to continue draining and prevent sogginess.
- 8
Stir the sauce ingredients together in a small bowl and serve alongside the lumpia as soon as they are cool enough to handle and consume.
Cocínala con la receta original
Esta receta es de altonbrown.com. En su web tienes las fotos, las notas y los consejos del autor: es el mejor sitio para cocinarla.
Ver la receta en altonbrown.com