
Donuts de tarta de zanahoria y calabaza con streusel
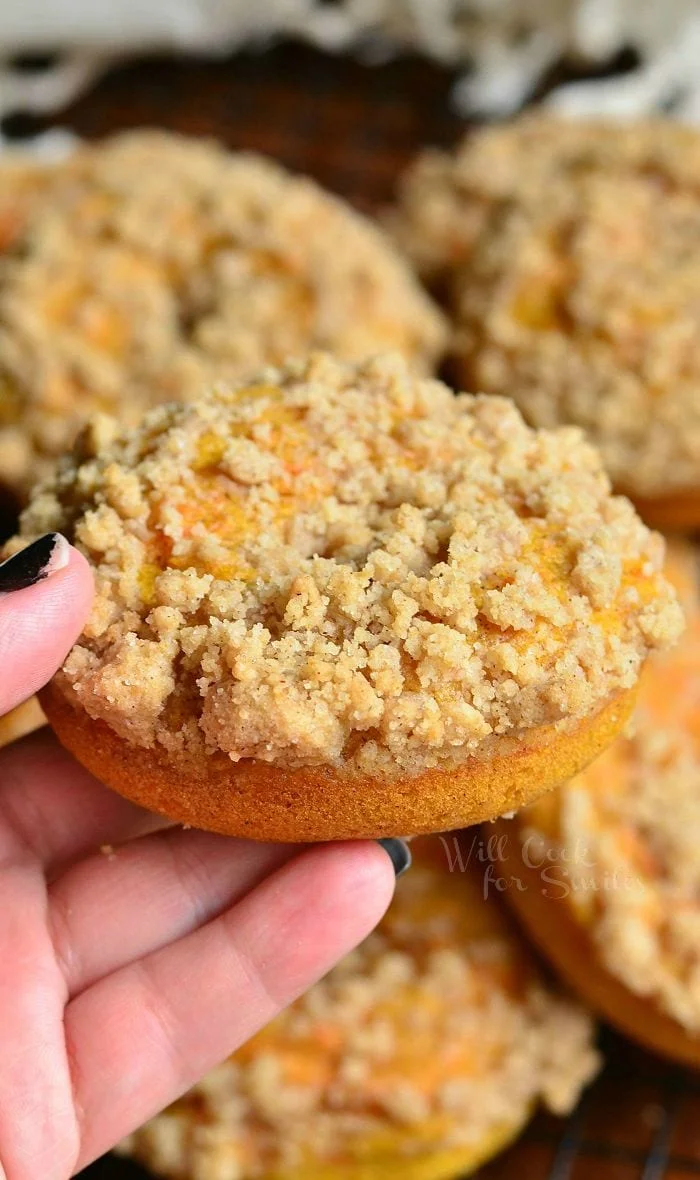
Estos donuts de tarta de zanahoria están elaborados con un toque de calabaza y un streusel con sabor a canela.
Ingredientes
- Donut batter:
- 1 cup finely grated carrots
- 1/2 cup pumpkin puree
- 1 egg
- 1/2 cup low fat buttermilk
- 2 Tbsp vegetable oil
- 1 tsp vanilla extract
- 1 1/2 cups all purpose flour
- 1/2 cup white granulated sugar
- 1/2 tsp baking soda
- 1 tsp baking powder
- Pinch salt
- 1 tsp ground cinnamon
- 1/4 tsp ground nutmeg
- 1/2 tsp ground allspice
- Streusel:
- 1/2 cup brown sugar
- 2 Tbsp white granulated sugar
- 1/2 tsp ground cinnamon
- 3/4 cup all purpose flour
- 4 1/2 Tbsp unsalted melted butter
Preparación
- 1
Preheat oven to 350 and grease a donut baking pan. (You will need two 6-cup donut pans or you can do it in two batches because the recipe makes 10 donuts.)
- 2
In a large mixing bowl, combine grated carrots, pumpkin puree, egg, buttermilk, oil and vanilla. Mix well until the ingredients are completely incorporated together.
- 3
Add flour, baking powder, baking soda, sugar, salt and spices. Whisk until completely blended. Set aside to prepare streusel.
- 4
In a medium bowl, combine brown sugar, white sugar, cinnamon and flour. Mix well until all ingredients are incorporated evenly.
- 5
Pour in melted butter and carefully fold it in with a large fork. You will want to be careful so you don’t over-mix. Streusel should look like large crumbs and not paste.
- 6
Spread a little bit of streusel crumbs in the bottom of each donut cup of the baking pan.
- 7
Pour batter into a piping bag. (Depending on the bag, you might have to do it in two batches.)
- 8
Cut the tip off the piping bag, leaving only about ½ inch opening.
- 9
Squeeze batter into the donut cups of the pan, filling them. Make sure there is an even amount of batter all around.
- 10
Sprinkle donuts with streusel crumbs, generously.
- 11
Bake for 13-14 minutes. Let donuts cool in the pan for about 10 minutes and take them out onto a cooling rack.
Cocínala con la receta original
Esta receta es de willcookforsmiles.com. En su web tienes las fotos, las notas y los consejos del autor: es el mejor sitio para cocinarla.
Ver la receta en willcookforsmiles.com